Introduction
Hello! My name is Tim and I want to introduce my book to you. This is the very first guide book I have ever made so don’t be too strict. This book is created in order to help people use their computers in more complicated things, teach them the basics of the creating something that could be used in every-day routine (creating poster for bake-sell commercial, completing school projects), for fun or even for a job! I will show you the basics of editing pictures, sounds and videos.
Image editing
-
1. Drawing by your own
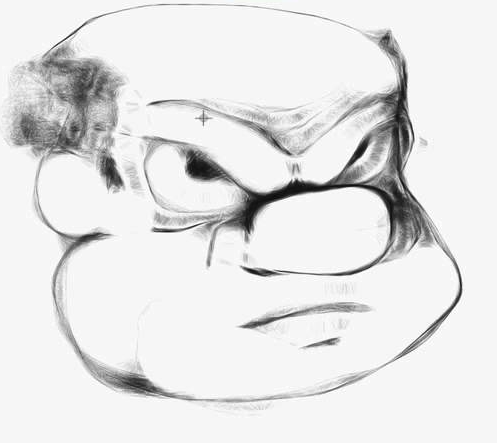
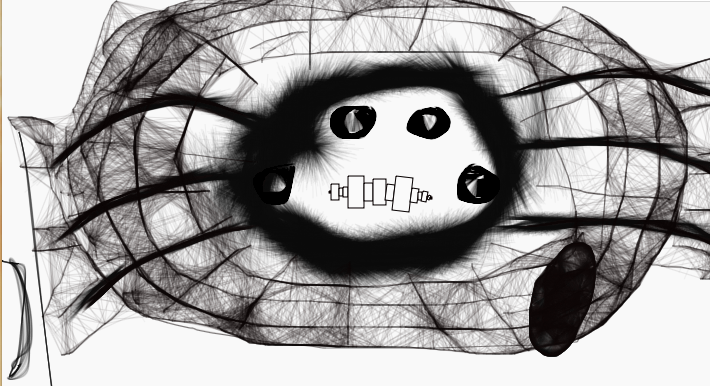
-
2. Taking other pictures and putting them together in a way which would be effective to complete the goal
GIMP
GIMP is an awesome programm which can substitute photoshop for you. You can change pictures and improve the in many different ways. With this program you can also create your own pictures by drawing with your hand.
I will show you some ways in which you can edit your picture very fast.
-
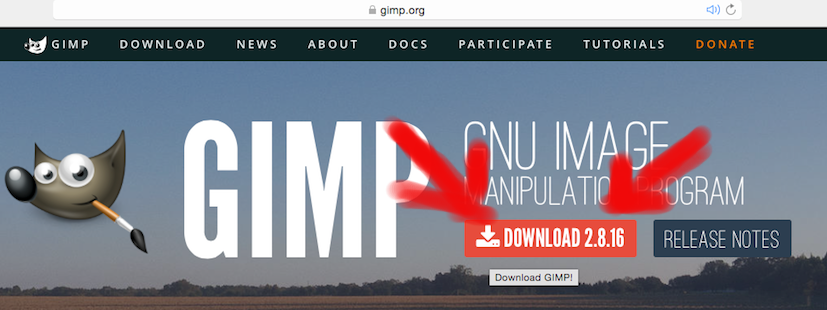 First of all you have to have GIMP.
So go to this site and download it. Then you have to press button download (it is free and there are no viruses) - Open the program(yes, yes - I know, it’s obvious, but do it)
-
There are the things you will see:
GNU Image Manipulation Program main window - the place where you will work at, Dockable Dialogs and Toolbox. If last two don’t pop up automatically you should click Window, then Dockable Dialogs, and open those you need (for my guide you will only need Layers). If tool box doesn’t show up you should click Windows and then New Toolbox. Also you could need Tool Options (to manipulate the options of tools and make your editing more accurate). You can open them by clicking Windows → Dockable Dialogs → Tool Options. -
-
To start working you have to open already existing file or create one. To create file click File → New. There is the window which is going to pop up: here you can choose Height and Width as well in pixels these: I think that the best configuration of Width and Height is 1920/1080 because it is HD quality. If you click advanced options you will be able to see some more options. Here you can change your resolution, Color space(RGB color is normal colors and Greyscale which would make the picture black and white) and what you want to be the new filled filled with.
-
If you want to work on already existing image you click File → Open and select the image you want to work with. If you want to work with multiple images at the same time you click File → Open as Layers.
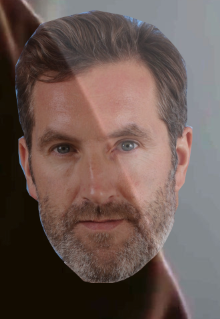
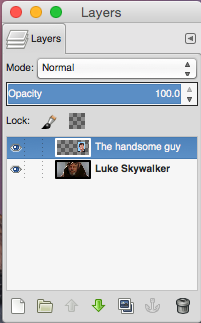 Layers are the really important part of the work in GIMP. You can see them on the right side of the screen. Here you can choose different modes which are really cool and you should definitely check them out if you want to work with GIMP more detail later in future. By clicking on the eye icon you can make layer visible or invisible. The second square next to eye icon can link layers so you will work with them together as one. You can choose the layer which you are working with by clicking on it - it will highlight your layer in blue. You can move layers up and down by clicking green arrows underneath the layers. You can duplicate layer you selected by clicking black square next to green arrow and delete layer by clicking the trash icon. Also you can change opacity - it means that if you change it to lower number you will be able to see the layer less for example:
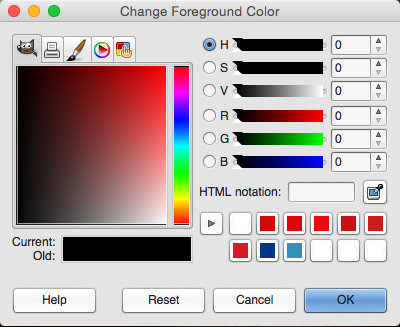
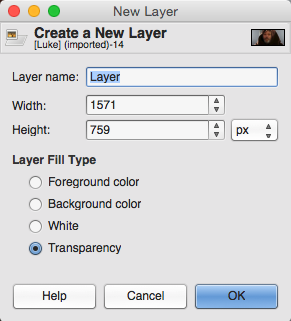 Also here you can change the name of the layer by clicking Right Button on your mouse and clicking Edit Layer Attributes. Here on this list you can also see other ways to work with the layer. You can create new layers. Here you can select the Width and Height in same dimensions as you could while creating brand new image. And here you can choose what to fill new layer with. I want to admit that transparency means that you are feeling the layer with absolutely nothing. You can choose foreground color by clicking this thing
  on toolbox menu: background would be the square underneath. To change them just simply click on one you want to change and choose the color you want.
background would be the square underneath. To change them just simply click on one you want to change and choose the color you want.
on toolbox menu: background would be the square underneath. To change them just simply click on one you want to change and choose the color you want.
background would be the square underneath. To change them just simply click on one you want to change and choose the color you want.
 There is also a possibility to create Layer groups if you want to create a lot of layers and be able to work only with some of them, but not all. To do this click folder icon and drag the layer you want to the folder that appears in layer menu. To remove the layer from layer group drag it out.
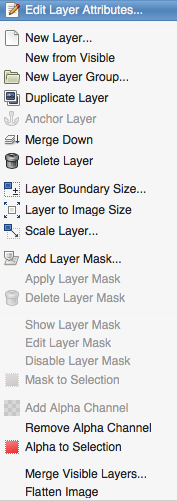
 Merge Down means to combine the layer you’ve chosen to layer it.
Layer Boundary Size just changes the size of the layer.
Layer to Image Size make your layer the size of the whole picture.
Scale Layer changes the size of the image(you can choose weight and height in different metric systems).
Adding layer mask creates an opportunity to work with selected areas of layer and change their opacity, transparency and luminocity.
If you don’t like your layer mask just delete it.
Alpha channel allows to work with layers which you want to correct. After clearing the selection in leaves transparency(absolutely nothing - no color, no layer, no used space), while regular clearing space leaves background color.
Merge visible layers just puts all layers with eye icon near them together as one. Flatten image combines ALL layers at one. Ok, now you have something to work with. But how do you actually edit pictures? For these purposes you use Toolbox.
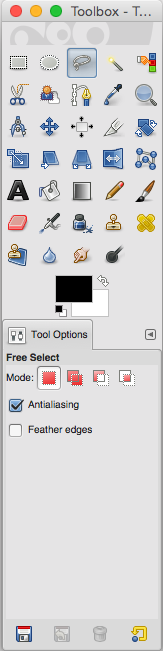
This is toolbox here you can find different tool to edit your picture. (You can also find their by hovering over them with your mouse)
Here are the most useful tools: Free select tool selects a hand-drawn region. This tool could be used to select the areas of pictures that you need the most, move them through the layers and to make changes only in selected area. It means that even if you would like to you would not be able to use them on different parts of picture. To remove the selection just click Select → None. (same with Rectangle and Ellipse select tools, but not all elements fit ellipse and rectangle properly) You can also double click it to see more options of this tool in tool options menu:
- • select areas which you want to cut from
- • or the areas in which two selections are crossing.
- • Also you can tick the feather edges square and all the areas you feel something with will have smooth edges.
-
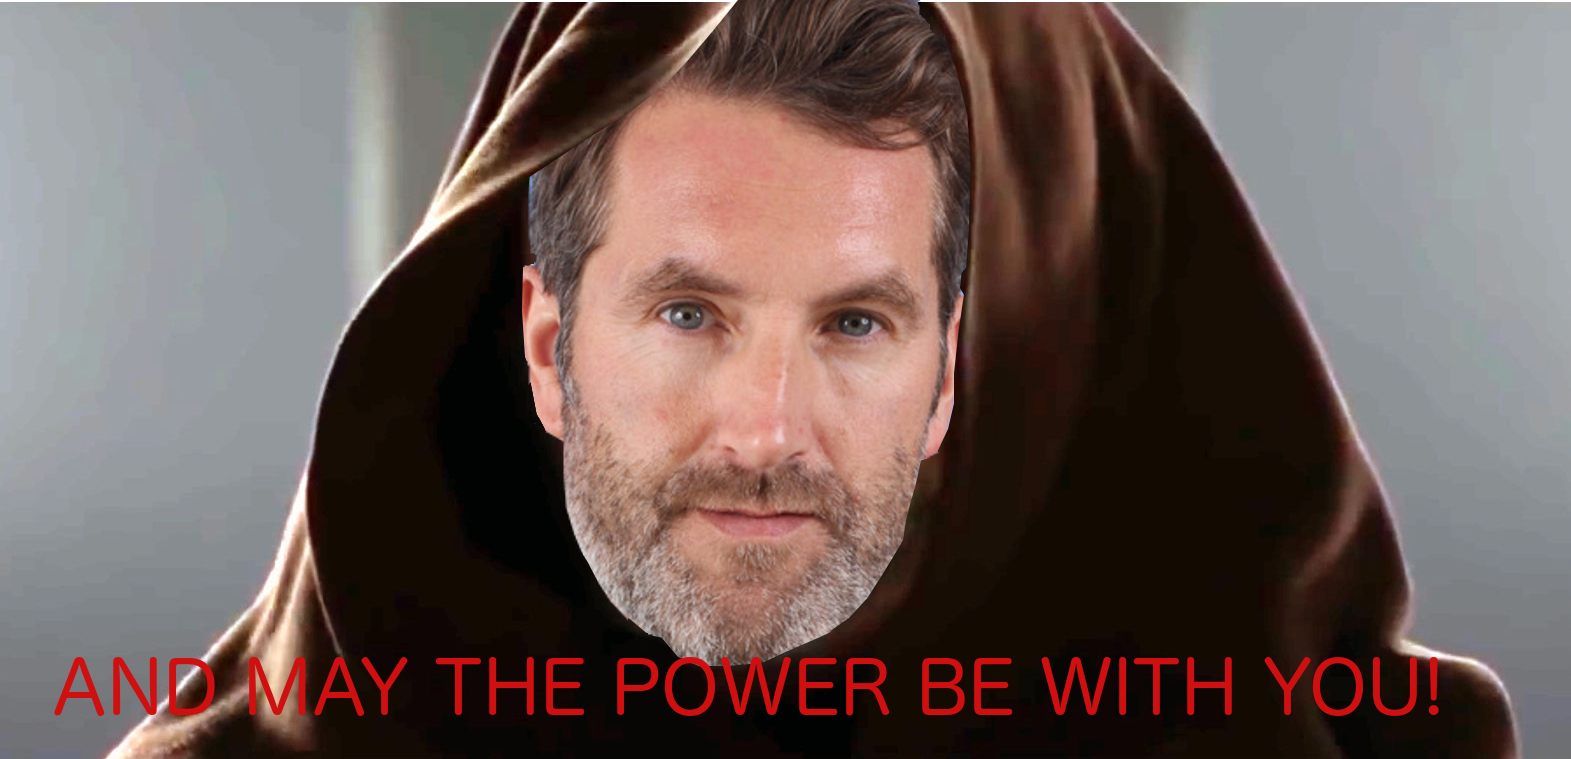
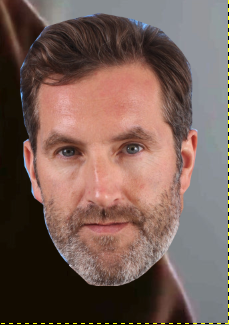
- For my particular image i will use this tool to select the face of this handsome man and will get rid of the background by doing some simple actions:
- Select the Free Select Tool
- Choose the parts which I need by drawing the selection by hand or by matching the dots(which you will see after clicking on any part of the screen, don’t worry you can always get rid of any dot by pressing Backspace button)
- Then you click Select button on the top of the screen and click invert. After that click Edit → Clear.


Scissor tool is pretty much the same as select tool but it is less accurate. You have to select the area you want by matching the dots and clicking in the centre afterwards.
Color picker tool picks the color you want and makes it your foreground color(You can choose others in tool options menu). You can see the options of this too by double clicking it. Here you can tick sample average and be able to take sample of colors average from radius you have chosen.
Zoom tool zooms in by clicking the area you want to zoom in and zooms out by holding ctrl/cmd button of your keyboard and clicking with your left button of mouse.


Measurement tool just measures the distance from the dot you’ve chosen to any second you want. It shows the result on bottom of the screen. You can choose this button if you want to see the result separately.
Move tool moves the chosen layers and you can make it move selections if you want(in tool options).
Alignment tool can move chosen area or image as you want. The way you can do it is to open tool options and move the image in any direction you want(for example you can make your exactly in the centre of picture or move it to the side)

Crop tool crops. The way in does it is just like select tools except in deletes everything but the area you’ve chosen. Also you can choose current layer only to to crop only the layer you are on.
With Rotate tool you can rotate the image by dragging it. Scale tool changes the parameters of the image.
Perspective tool stretches the image from the 4 corners. Interesting things you can do with that is broken mirror pictures or image cubes.
Flip tool flips the image, paths or selections vertically or horizontally.
Cage tool can deform the part of the image you’ve selected. The way it does it is it drags pixels the way you have chosen.Firstof For example:


Using this tool you can make somebody look really fat or slim(add/ reduce extra space in the image)
Text tool is really simple to work with. You press it, drag across the place you want it to be at and write anything you like.

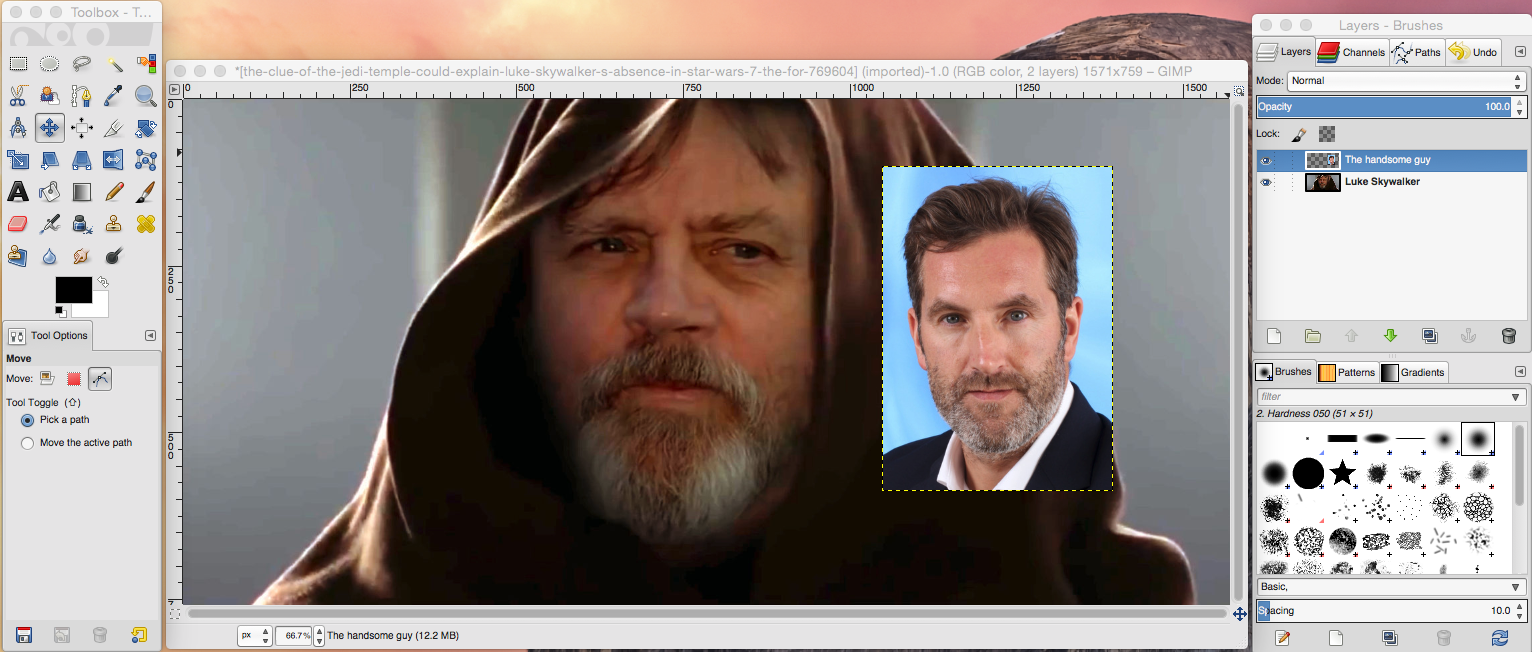
You can change the fonts and size of the text in the popup that appears after you’ve created the area you want to write in. The last thing: to change the face of Luke to what I want you just need:
- Drag the layer with his face up.
- Select his face.
- Drag the face you want instead on top again.
- Drag it so it fits in correctly.
- Click Select -> Invert
- Edit -> Clear
- Enjoy

Video Editing.
So what is video editing? Video editing is changing videos by adding them to each other, cutting them and adding special effects and text to them.
Wondershare Video Editor.
This programme is a perfect example of a simple and comfortable video editor with which you can create videos very fast.
To start working with that program you have to:
http://www.wondershare.net/filmora/video-editor/?gclid=CIfVl6GRtMoCFcH3cgodgNoPaw


This is how the timeline looks like: At first line there are videos. On the second go filters and overlays. On third and fourth go pictures and elements. On next goes text and effects. And on the last goes music.
After the video is done you can save it by clicking export button. After that you can export it at any format you like anywhere you like(to your computer, straight to YouTube, to your phone or tablet). The only problem is that you have to register to download the video without watermark. But at other aspects this video editor is awesome.